")
How to Floss with Braces or Bridges: A Step-by-Step Guide
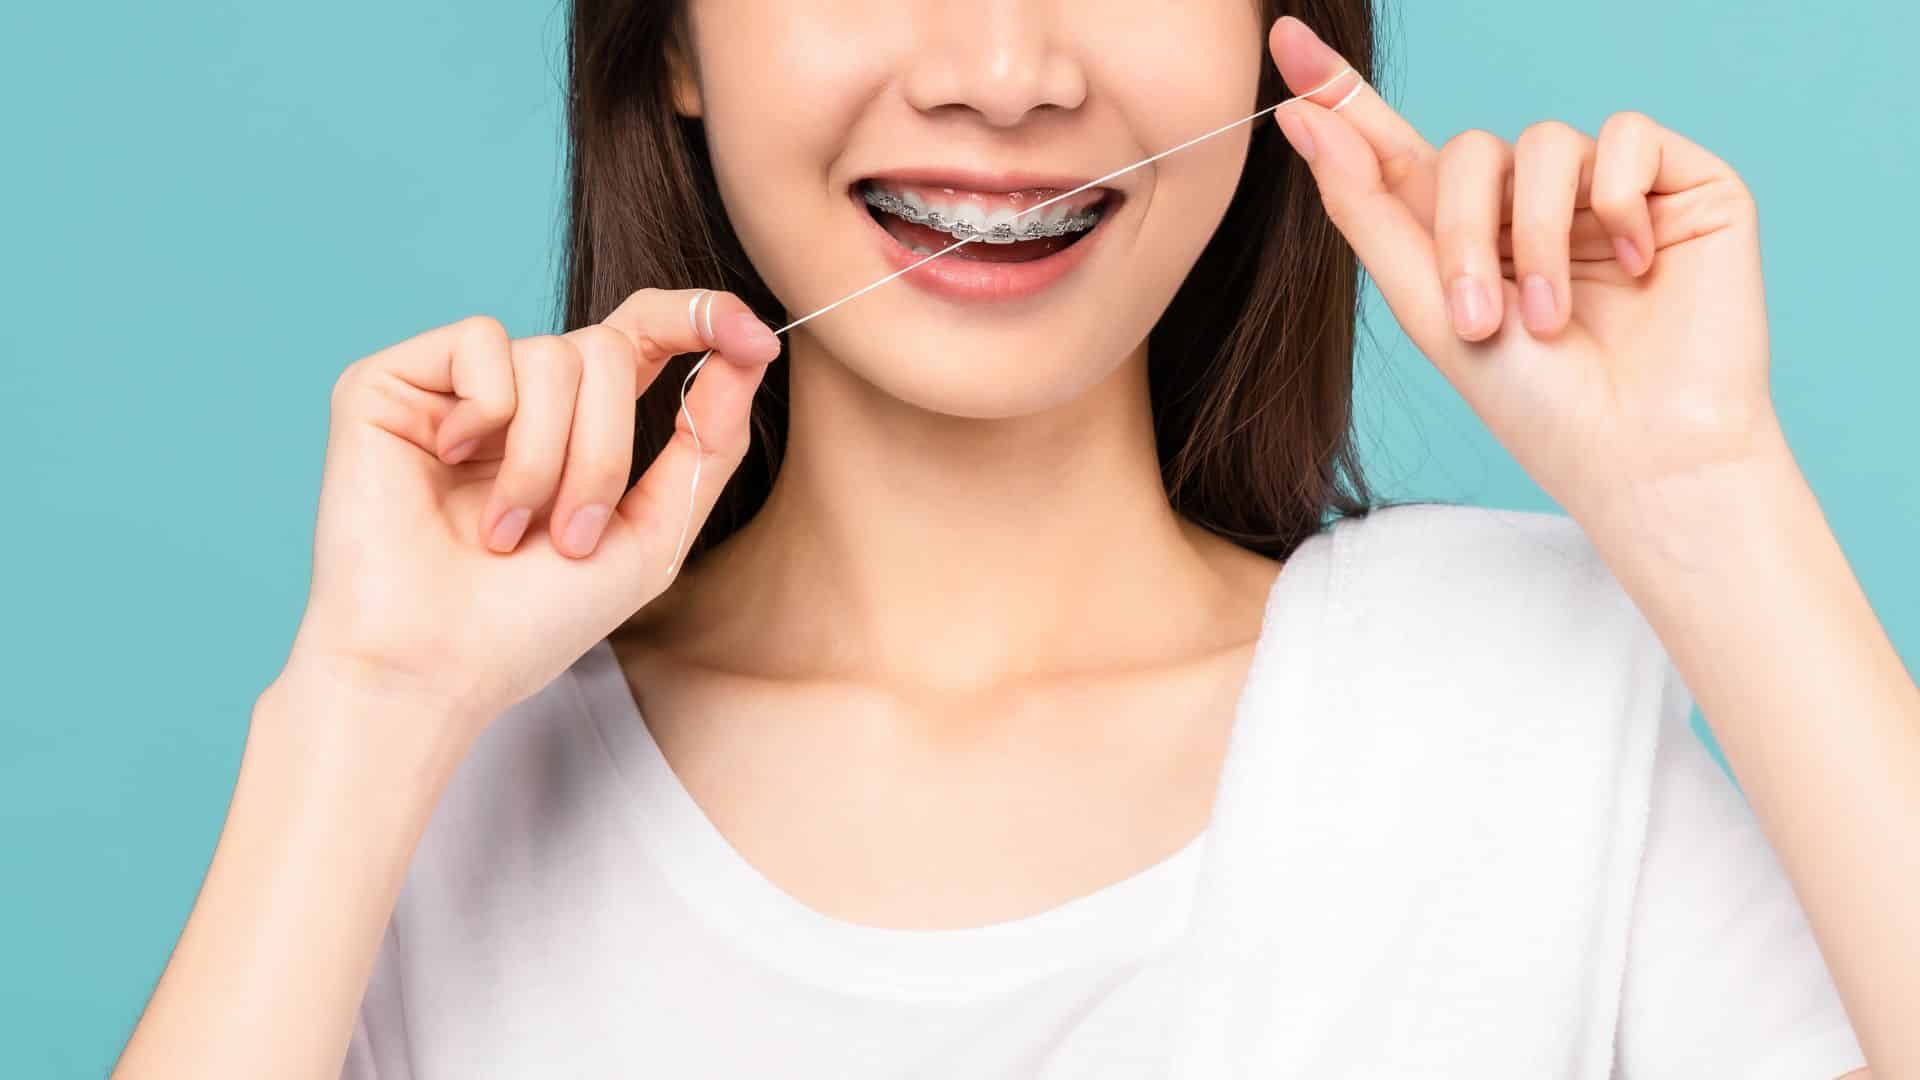 Flossing is one of the most important habits for keeping your teeth and gums healthy, but it can feel tricky when you have braces or a dental bridge. Wires, brackets, and artificial teeth create small spaces where food and plaque hide.
This guide walks you through the best flossing techniques, the tools that make it faster and more effective, and how to keep your smile healthy while undergoing orthodontic treatment or caring for a bridge.
Why Flossing Matters More When You Have Braces or Bridges
Braces and bridges change how you brush and floss. Braces add brackets and wires that trap food. Bridges create small gaps under the artificial tooth, called pontics, where plaque collects. Standard brushing alone cannot reach these tight areas.
If plaque builds up, it increases the risk of gum disease, decay around brackets, tartar, or stains that remain after the braces come off. For dental bridges, trapped bacteria can irritate the gums supporting the bridge and shorten its lifespan.
Daily flossing helps prevent these issues by removing sticky plaque before it hardens. It also keeps your gums healthy so they stay strong around orthodontic appliances and restorations.
Tools That Make Flossing Easier
You can floss with regular dental floss, but most people with braces or bridges find the job faster and more comfortable with specialized tools. These are all dentist approved and safe for use with orthodontic appliances.
-
Floss Threaders
A floss threader looks like a small plastic needle that helps you guide floss under wires or under a bridge. Brands like GUM Eez-Thru Threaders are commonly recommended. They are inexpensive, disposable, and easy to use.
-
Orthodontic Floss
Products like Oral-B Super Floss come with stiffened ends that work like built-in threaders. They help guide the floss under wires or around bridgework without separate tools.
-
Interdental Brushes
A small cone shaped brush, often called a proxy brush, helps clear plaque around brackets and under wires. It is not a substitute for flossing, but it supports your cleaning routine well.
-
Water Flossers
Waterpik and similar devices use pressurized water to rinse around braces and under bridges. They do not replace string floss completely, but they remove trapped food and reduce gum inflammation. Many orthodontists recommend them as part of a daily routine.
-
Regular Waxed Floss
Waxed floss glides easier around brackets and wires. Unwaxed floss can shred, so waxed versions are usually the better choice for orthodontic care.
How to Floss With Braces: A Step-by-Step Method
Flossing with braces takes a little more time, but the steps become automatic with practice. Here is a simple method that works for most patients.
Step 1: Prepare Your Tools
Choose waxed floss, orthodontic floss, or a floss threader. Cut a piece of floss roughly 18 to 24 inches long. If you use a threader, thread one end of the floss through the loop.
Step 2: Guide the Threader Under the Wire
Hold the threader in one hand and slide it gently under the main orthodontic wire. Pull it through until you have enough floss on each side to work comfortably.
Step 3: Wrap the Floss Around Your Fingers
Wrap the ends of the floss around your index fingers so you can control the movement. Make sure you have a few inches of tension between the fingers.
Step 4: Glide the Floss Between the Teeth
Move the floss carefully between the teeth. Do not snap it or force it. Once you reach the gumline, curve the floss around one tooth in a C shape.
Step 5: Clean Under the Gumline
Slide the floss gently up and down to clear plaque. Lift the floss slightly and curve it around the neighboring tooth. Repeat the same movement.
Step 6: Remove and Move to the Next Tooth
Pull the floss out from under the wire and repeat the process between each tooth. It may feel slow at first, but you will build speed with practice.
Step 7: Support With an Interdental Brush
After flossing, use an interdental brush to sweep around each bracket and under the wire. This adds an extra layer of cleaning and helps remove debris that floss might miss.
How to Floss Under a Dental Bridge: A Step-by-Step Method
Dental bridges require extra attention because plaque can collect under the pontic. Flossing underneath keeps the gums healthy and prevents irritation or infection.
Step 1: Choose a Flossing Tool
For bridges, use a floss threader, Super Floss, or a water flosser. Threader style floss makes it easiest to reach the space under the bridge.
Step 2: Thread the Floss Under the Bridge
Guide the stiffened end of the floss or the threader under the bridge. Pull it through gently until you can hold both ends comfortably.
Step 3: Sweep Along the Gumline
Slide the floss back and forth under the bridge to remove trapped plaque and food. Make sure to cover the entire underside of the pontic.
Step 4: Wrap the Floss Around Each Tooth
After cleaning under the bridge, move the floss up along the sides of the supporting teeth. Curve the floss into a C shape and sweep under the gumline.
Step 5: Repeat Daily
Cleaning under a bridge should be part of your everyday routine. Consistency keeps the surrounding gums healthy and supports the long term success of the restoration.
Helpful Tips for Easier Flossing
-
Be Patient at First
Your routine will feel slow the first few days. Once your hands learn the movements, the process becomes smoother.
-
Avoid Snapping the Floss
Snapping can damage your gums and cause bleeding. Move the floss with steady, controlled pressure.
-
Try a Water Flosser for Extra Cleaning
Water flossers are ideal if you struggle with manual floss. They rinse food from tight spaces and reduce swelling around braces and bridgework. Look for models with orthodontic tips for the best results.
-
Use Fluoride Toothpaste
Fluoride strengthens enamel and lowers the risk of cavities around brackets. It is especially helpful for teens with braces.
-
Replace Interdental Brushes Regularly
These small brushes wear out quickly. Change them every week or sooner if the bristles bend.
-
Visit Your Dentist Regularly
Professional cleanings help remove plaque in places that are hard to reach at home. Our team at Edmonton Smiles can provide personalized hygiene care and recommend the best tools for your needs.
Common Mistakes to Avoid
-
Skipping Hard to Reach Areas
The teeth in the back collect the most plaque. Make sure you floss all the way to the molars.
-
Rushing the Process
Speed leads to missed spots. Take your time and focus on technique.
-
Using the Wrong Type of Floss
Unwaxed floss can shred on brackets. Always choose waxed or orthodontic floss for braces.
-
Ignoring Gum Sensitivity
Some tenderness is normal when you first start flossing, especially around new braces or a fresh bridge. If pain continues, check in with your dentist.
When to Call Your Dentist
If you notice swollen gums, persistent bleeding, a loose bracket, or irritation under your bridge, schedule a visit. Early attention prevents bigger problems and keeps your treatment on track.If you are in the Edmonton area, you can contact Edmonton Smiles for guidance or an oral hygiene visit.
Flossing with braces or bridges might take a little extra effort, but the payoff is worth it. With the right tools and a daily routine, you can protect your gums, prevent buildup, and keep your smile healthy while you go through orthodontic care or maintain your bridge.
If you want help choosing the best products or need a personalized cleaning routine, contact Edmonton Smiles to schedule an appointment.